Who doesn’t love classy, stylish and trendy nails? Fashion and trend don’t just end with dress, shoes, and bags, nails are an accessory these days. Beautiful and well-groomed nails never fail to grab attention. Nails art goes a long way, if you love the simple classic style or you want those extreme quirky styles it’s all out there. Some can be done at home while some designs need an expert. Most of the elaborate designs are designed to look good on long nails. So what about girls with short nails?
10 Easy Nail Designs For Short Nails – Quirky Styles For Your Choice
Contents
If you are one of us who would not give into acrylic nails or that crazy stic- Quirky Styles For Your Choice on nails that tend to fall off or if you are a nail biter or you fall under the jinxed category whose nails would never grow no matter all the avocados you had, “Hi”! You are not alone. Don’t be upset, short nails are cute, much easier to maintain. Personally, my nails are short but i like playing around with some interesting, easy nail art.
For those girls who like to keep their nails short but still love nail art, this article is for you or girls who are like me, a tad bit lazy, these nails art will change your life.
Art can be done any were, the size of the canvas doesn’t matter much.
Well, let’s get into it!
Settle for no less, let begin with some glitter-
Glitter French Tips

We all know how good and classy our good old french manicure looks, these times let’s give it a little twist. Why not go for glitter tips rather than plain white tips. You can choose any colour matt nail paint of your choice as a base. Once it’s dried out, cover your nails with tape leaving out just a tiny area at the tip of your nails. Now apply a coat of glitter paint on top of the tape. Remove the tape and tada, pretty isn’t it? Now, seal everything in with a top coat.
Triangle Nail Design

To do this simple art all you need is two nails paints of your colour choice, start by painting the nail with a colour that wants to see as the border. Apply the nail paint and let it dry. Now take two tapes and stick it on the nails in a “V” formation. Now apply the paint you want to see inside the triangle, remove the tape. That’s it, simple and that and cool as ice.
Peek-a-Boo Nail Art
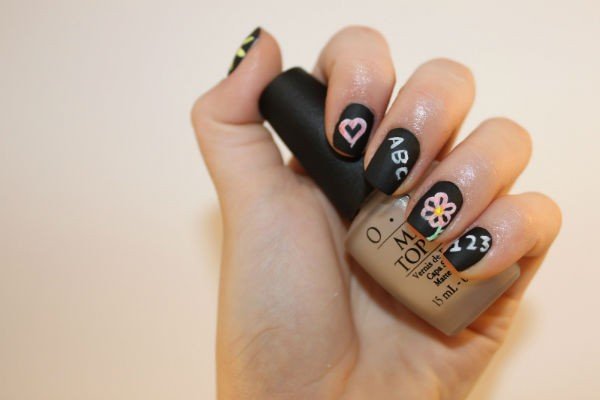
This method is so easy and trendy, that you don’t have to worry about being out of trend. You choose the base colour of your choice and paint your nails as usual, once the pain is dry, use another paint of your choice at the top and pain a curved crescent, as shown in the above image. Fill it in and finish off with a clear top coat. Monochrome works were great with this style.
Ombre Nail Art

Just like ombre hair and ombre dress, Ombre nail is so in and is one of the most elegant as well as chic looking nail art of oil times. If you those they look good only on long nails, it’s time to think different. Try it, it’s easy. Ombres too can be done with any two colours of your choice. Initially paint your nail with the colour of your choice, cut out a small piece from your makeup sponge, paint the colours you like on the sponge in horizontal gradation. Gently dab this on your nails. That’s it, you are done. For that classy look- you can finish the look off with a glitter top coat.
Note: keep a Q-tip and nail polish remover handy, the song can sometimes stain your skin. Clean it off by dabbing the q-tip in the remover.
Horizontal Stripes Nail Art
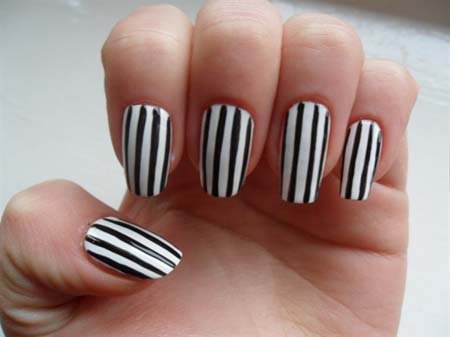
This is probably one of the simplest, basic as well as the trendiest nail art of all time. Take two nail paints of your choice, now let’s get started. Cut tape into thin strips and keep them ready as shown in the picture. Start off by painting your nails with the colour of your choice. Once the paint dries still the taps aligned parallel to each other over the nails. Now paint the second color. Rip off the tape. That’s it, you’re done.
Parisian Nails

Simple, easy and very cute. The parisian nails are super easy to create. Who doesn’t love the eiffel tower? All you need are two polishes, one dark colour, preferably black and the other any pastel colour. Paint the light colour first, let it dry and then use the darker colour to draw a simple tower, you can also add polka dots, etc to make them look more chic.
Polka Dot Nail Art
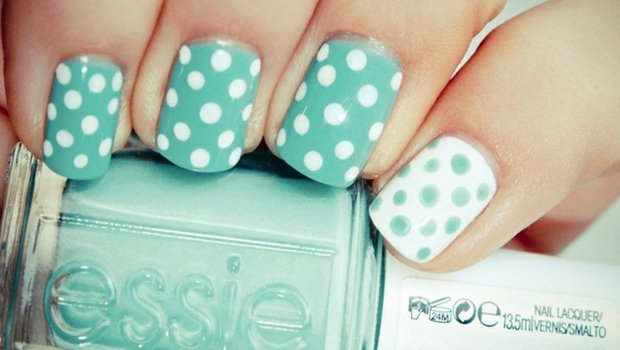
To create this cute nail art, take two nail paints of your choice. Apply a coat of your choice, once that dries out use a toothpick, dip it in the other shade and add dots all over the nails. You can further customize the dots as per your choice. As shown in the image.
Lace Nail Art
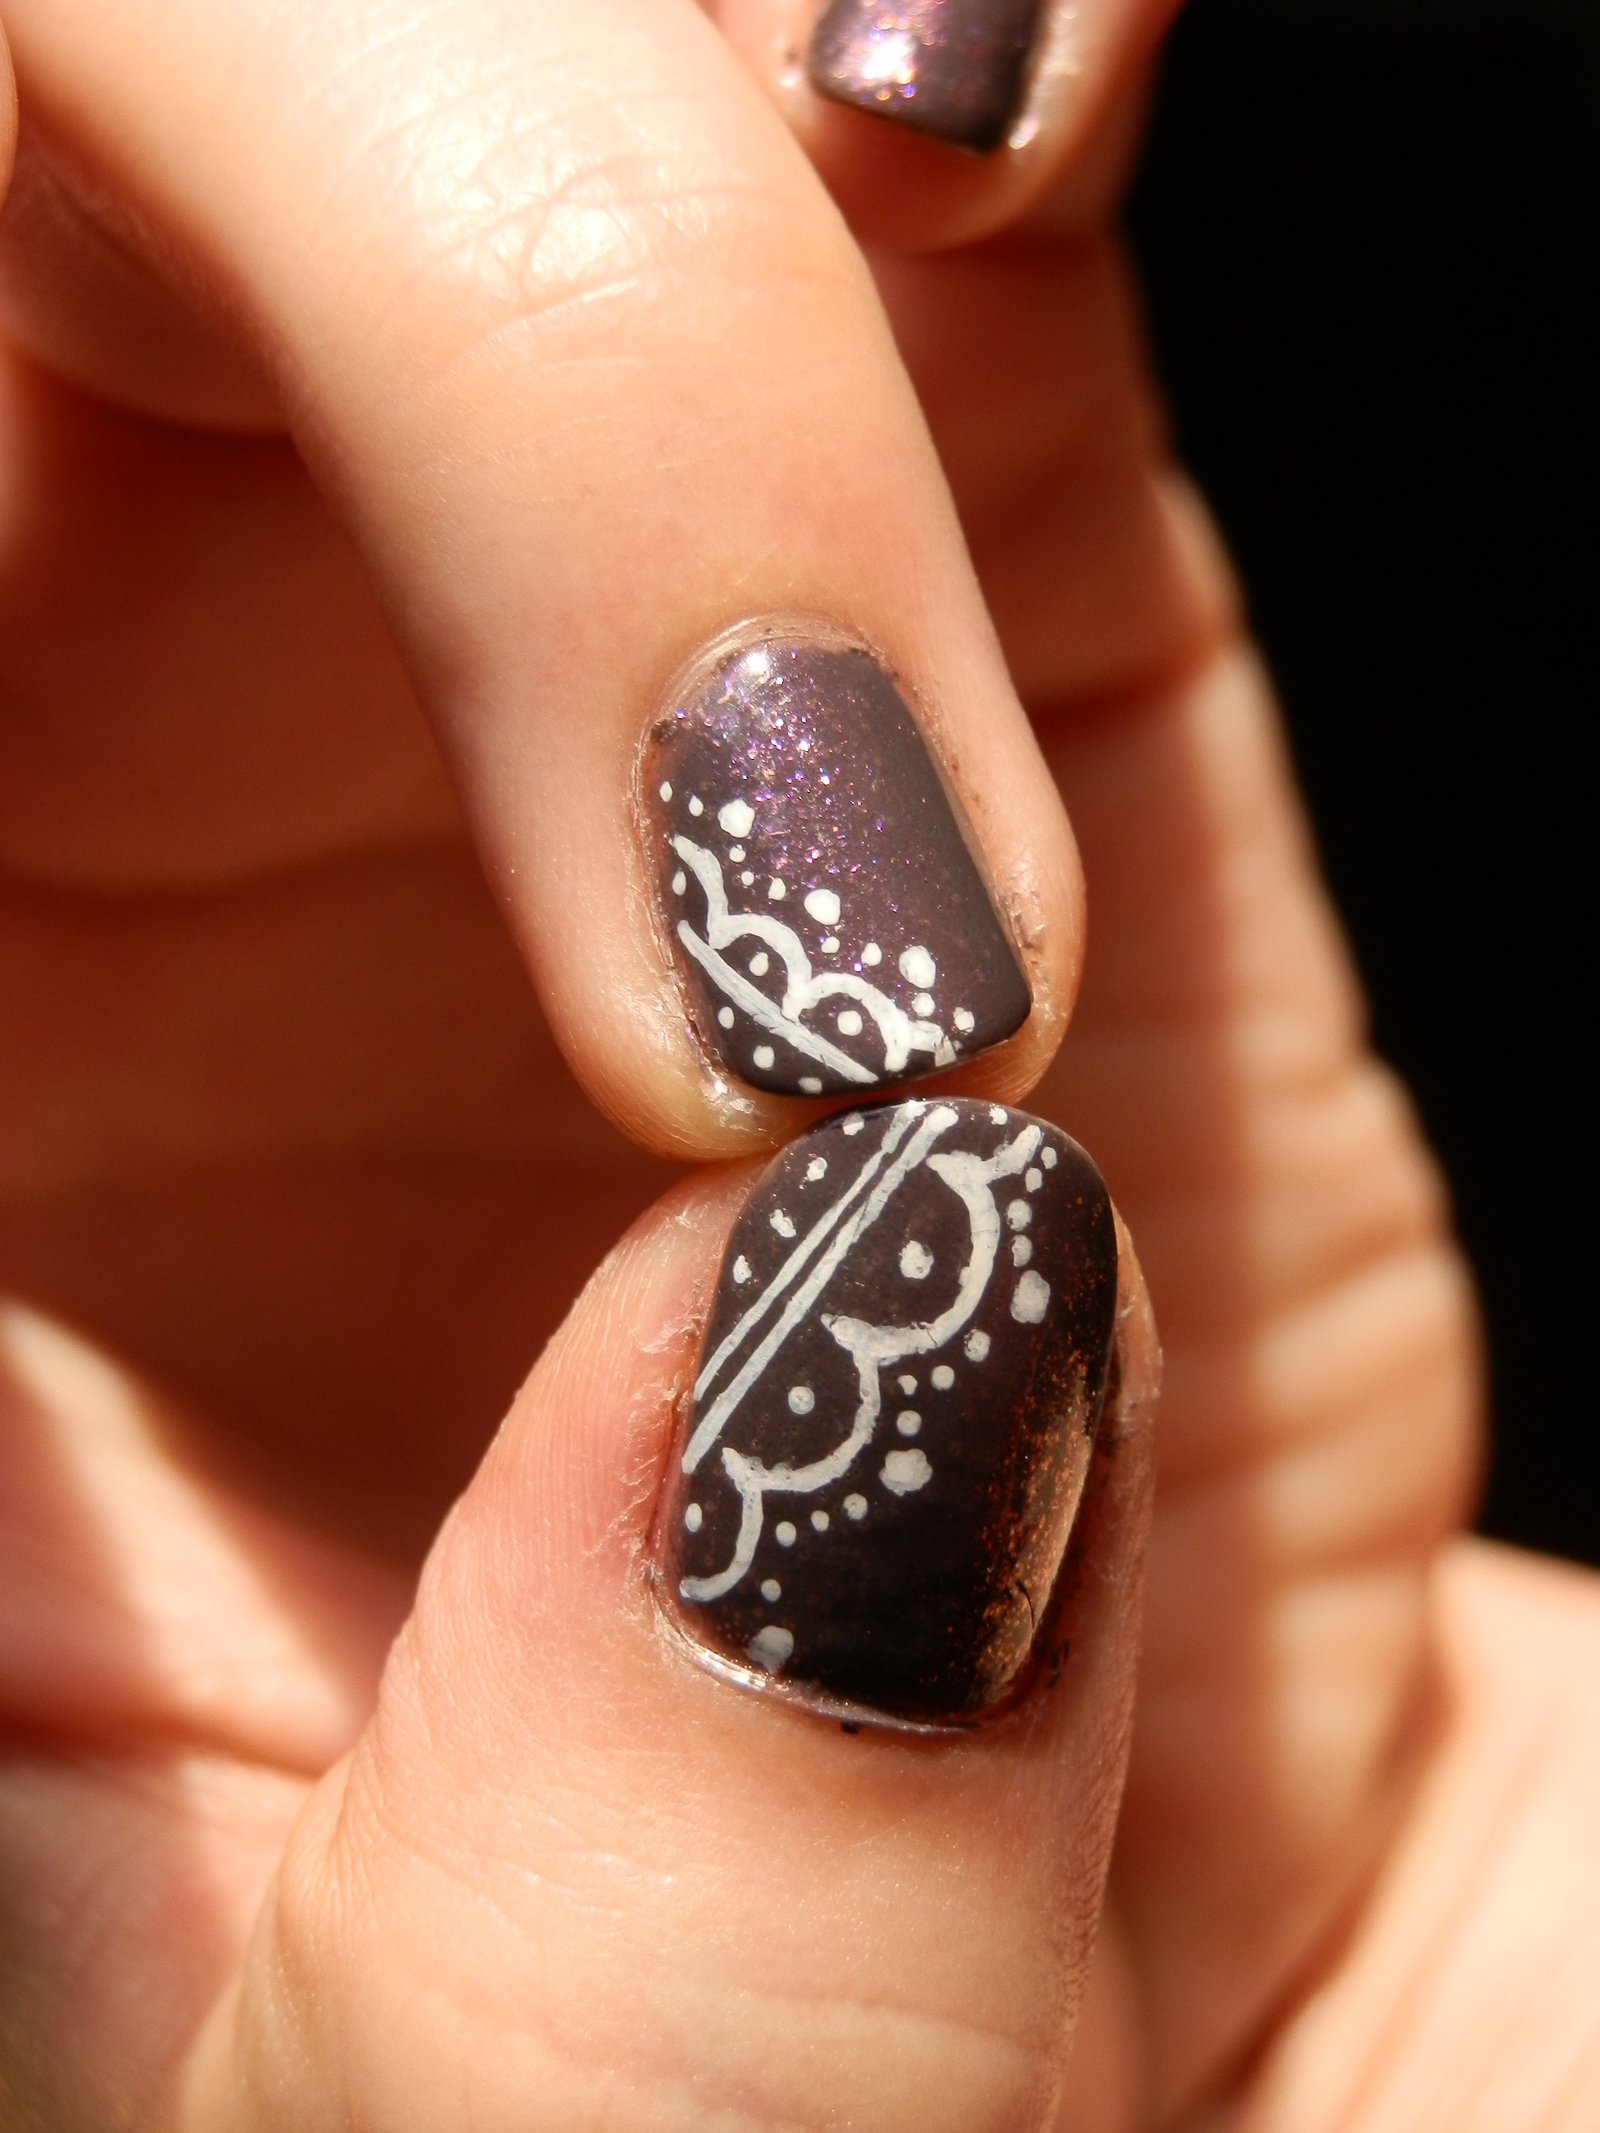
To create a cute lace nail art, you will need to nail colours of your choice, it’s better if you have a white shade to draw the lack. Start off by applying the coat of your choice. Let it dry- now draw simple lace patterns as shown in the image. Finish off with a top coat.
Glitter Gradient Nails

Glitter gradient nails ahs been seen carried by various celebrities, it’s posh, chick yet sophisticated. It looks great on short nails when done right. Let’s get into it. Choose pail paint of your choice and some nail glitter . the glitter could either be the same colour as the polish or a completely different colour. Paint the nails with the colour of your choice and while the polish is still wet, dab on some glitter using a brush. Seal the deal with a protection top coat. Bham! Doesn’t that look just wow!
Glitter Fade Nails

This is the opposite of the above method. All you need is to apply the glitter on the lower portion of your nails near the cuticle, rather than the tip. This style too looks amazing on short nails. No more sulking about your short nails, just go out there and rock them.
Leave a Reply
You must be logged in to post a comment.